اختر العملة

اختر اللغة


 Roymall C.o.

دفع آمن مضمون

 هدية مجانية
 سياسة الشحن
 سياسة الإرجاع


احصل على آخر أخبار العلامة التجارية وخصم 15% على طلبك الأول.

Hi ?
How can we help?


 Coupon Code
 Direct purchase from the factory
 Electronic Components & Supplies
 Module Board
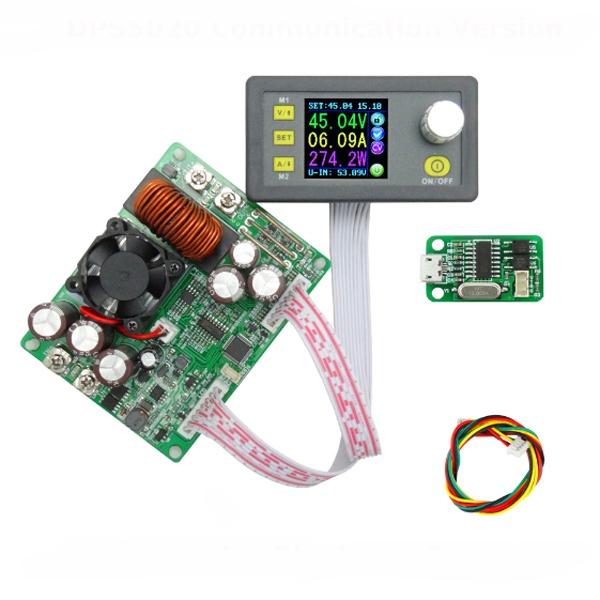
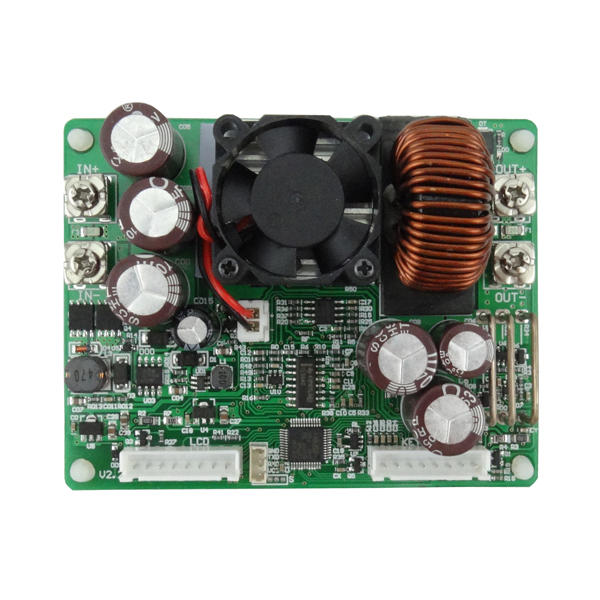
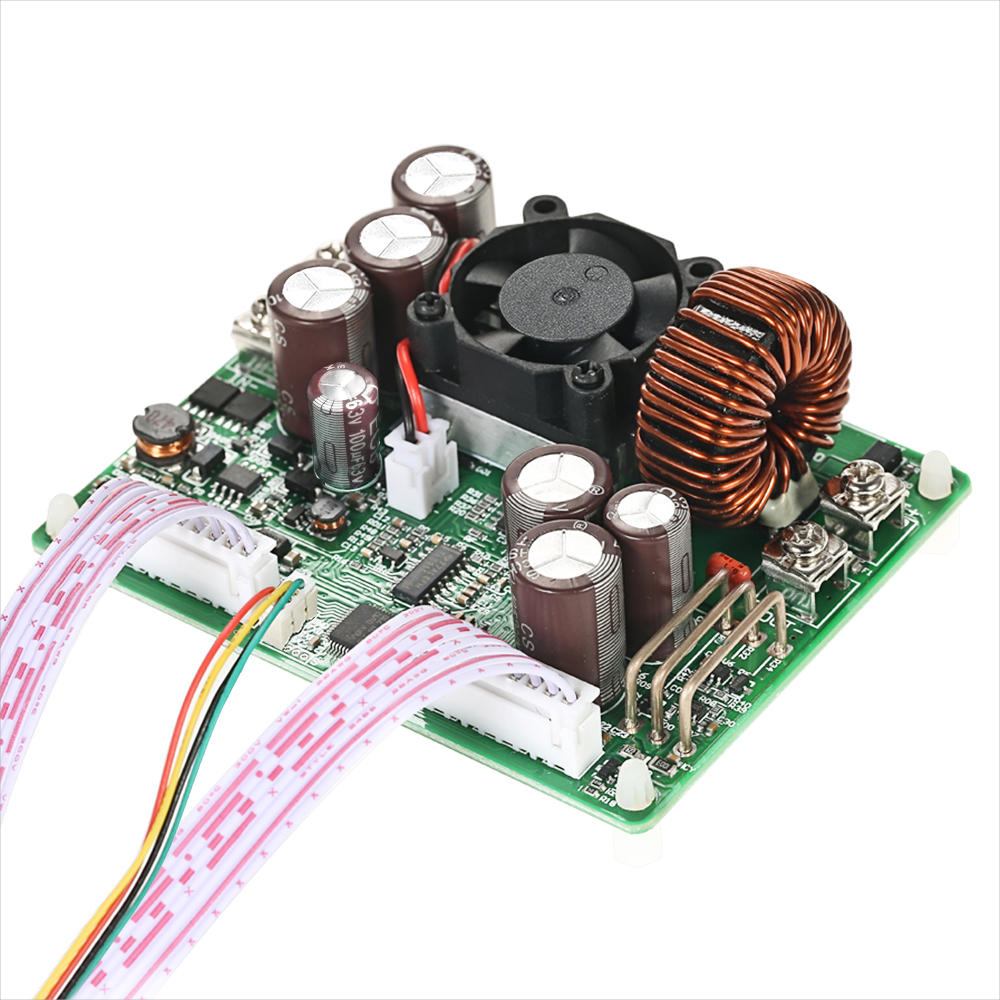
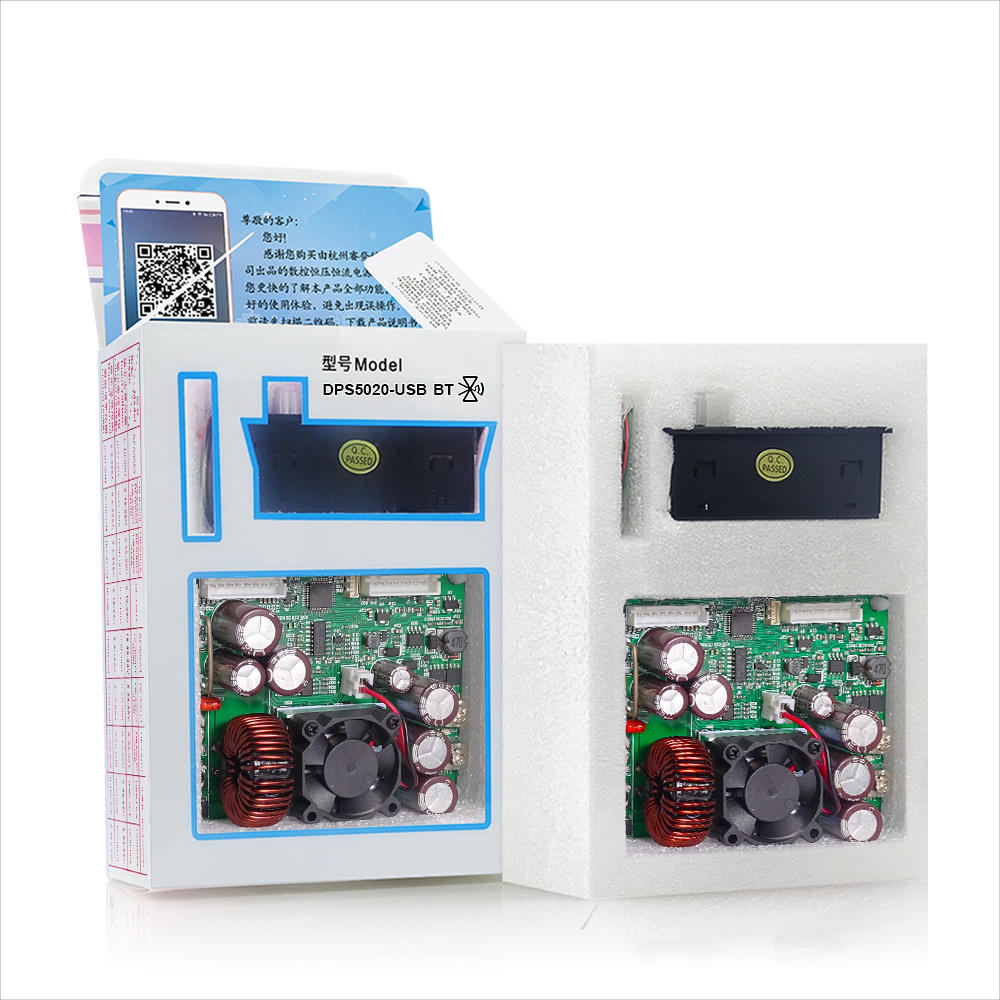
 Power Supply Module


