Back Share

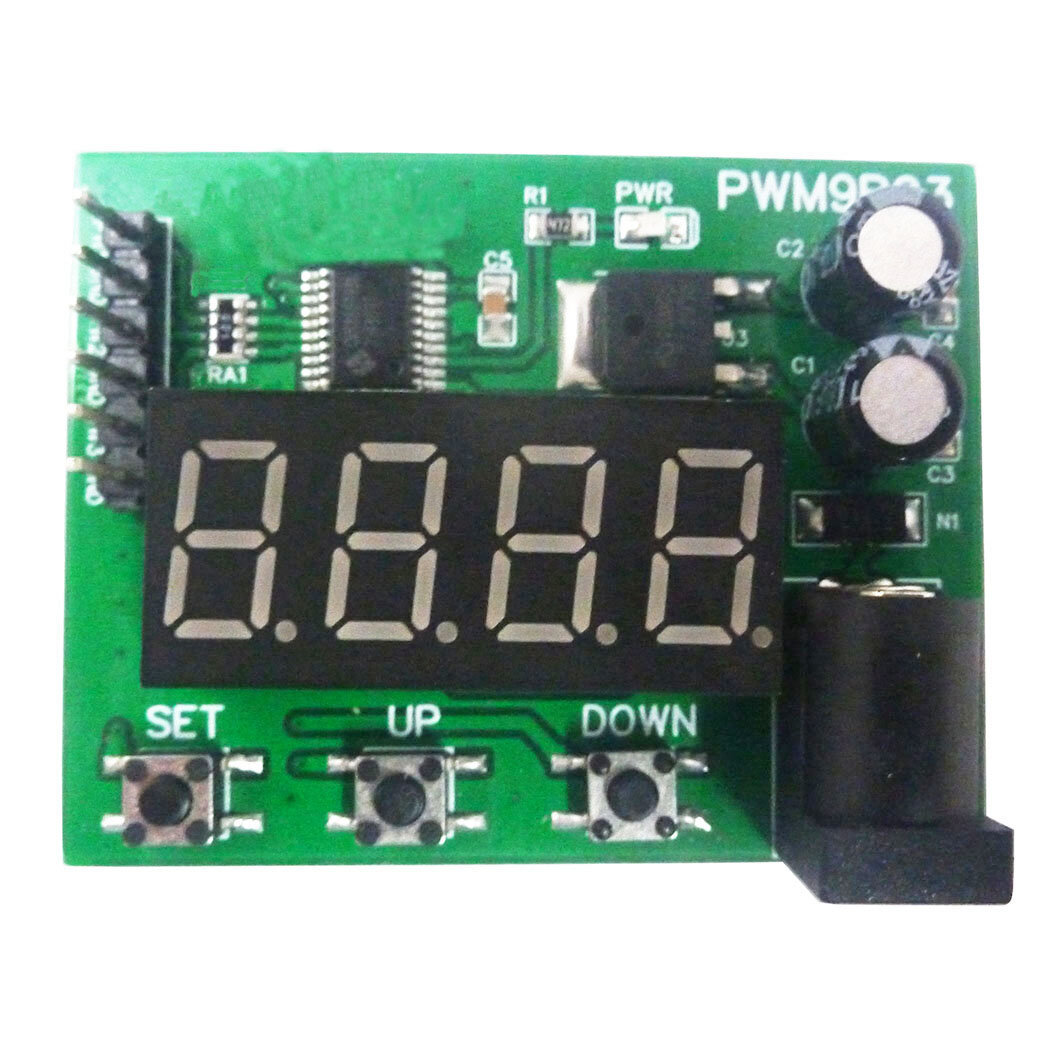
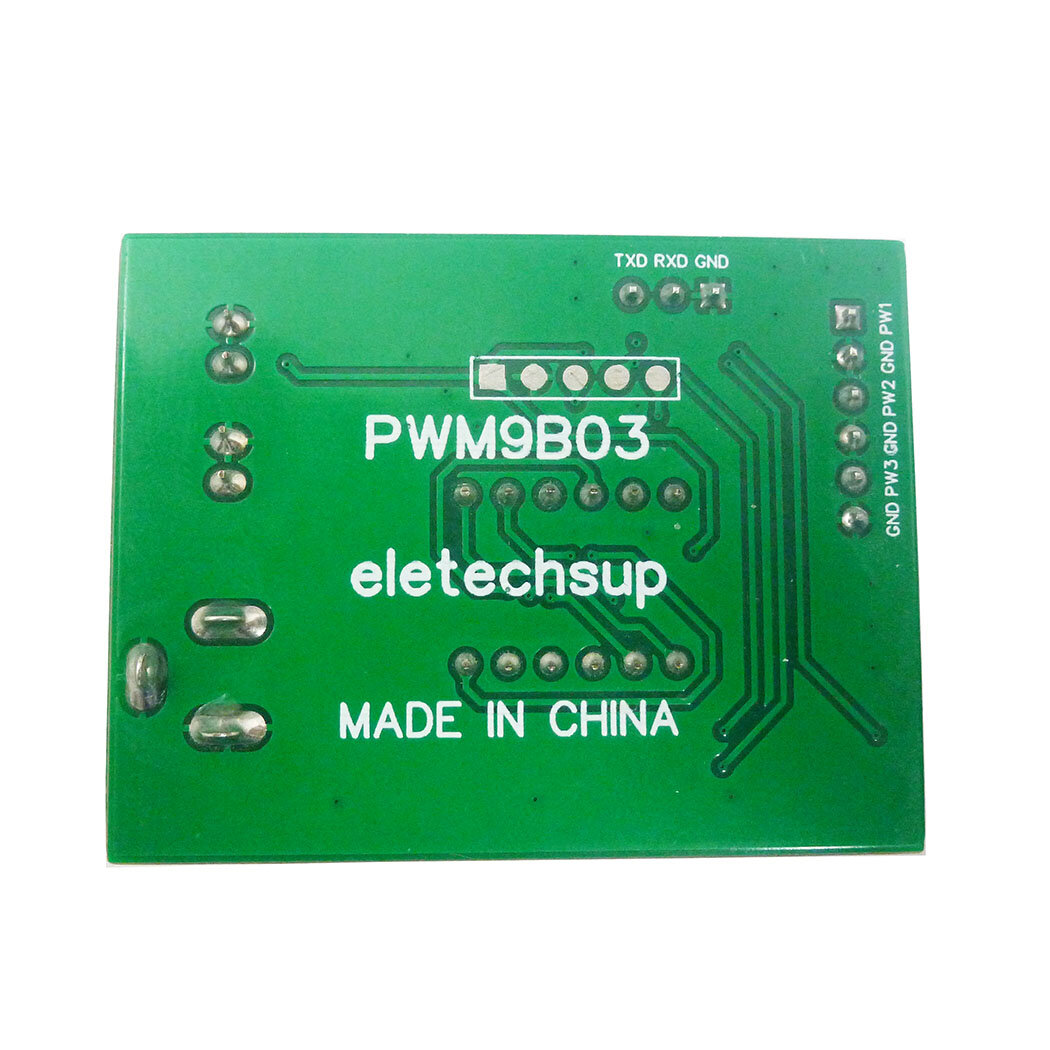
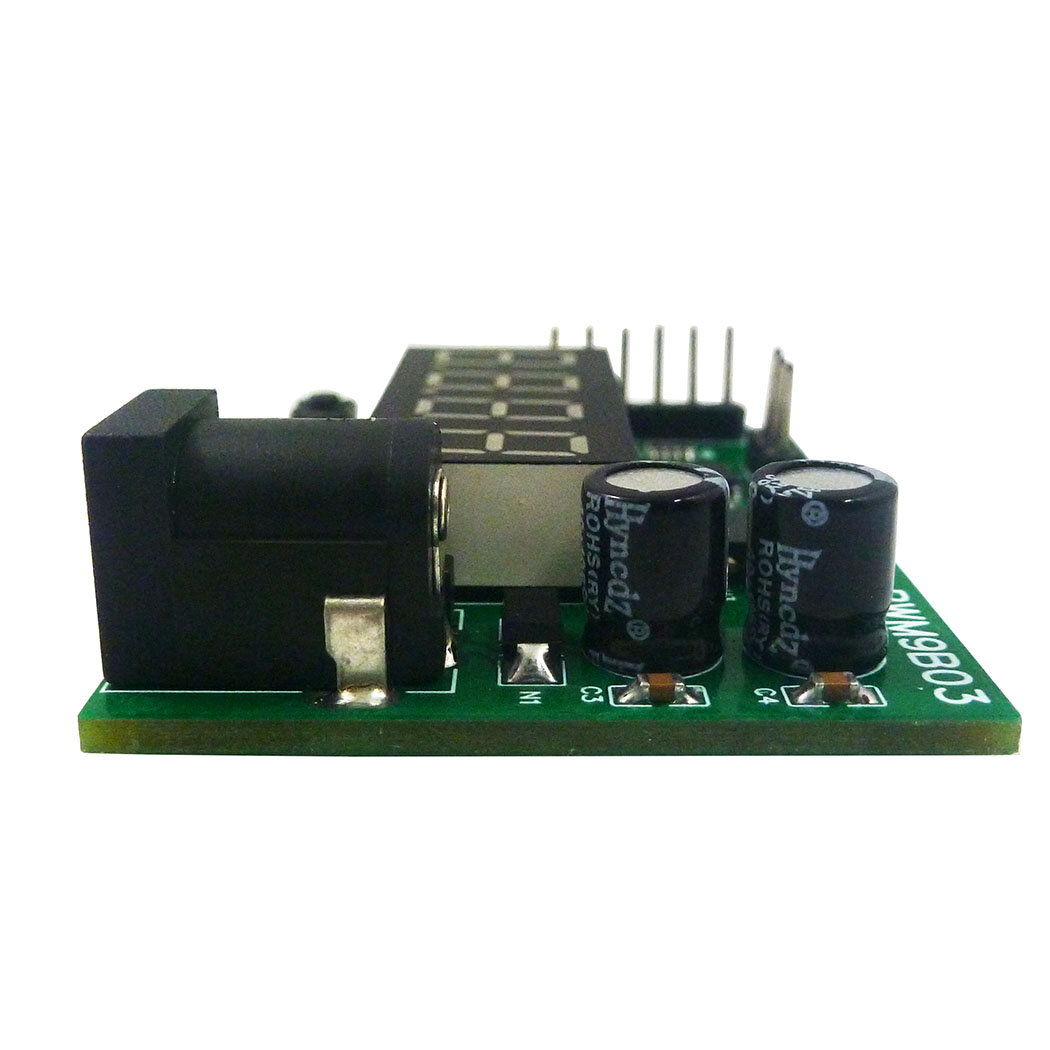
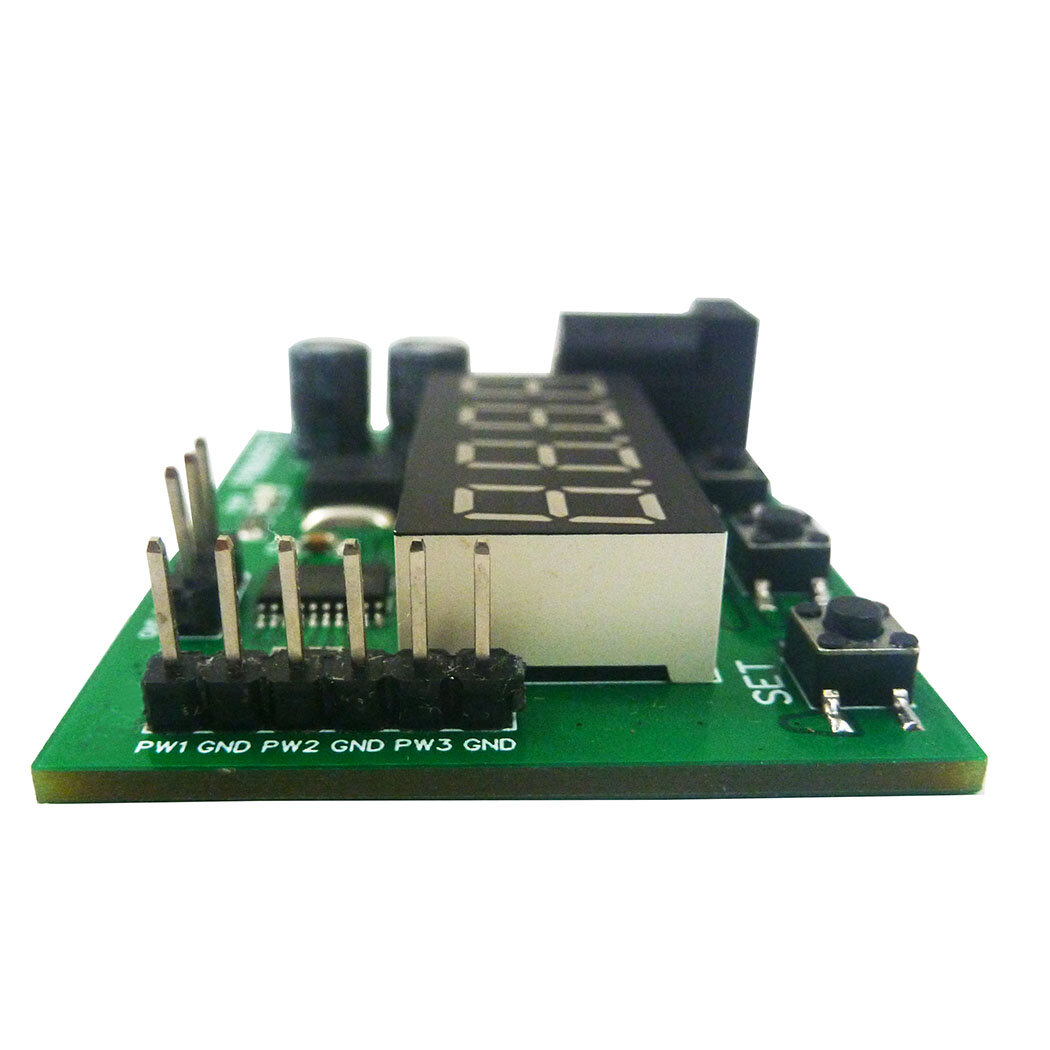
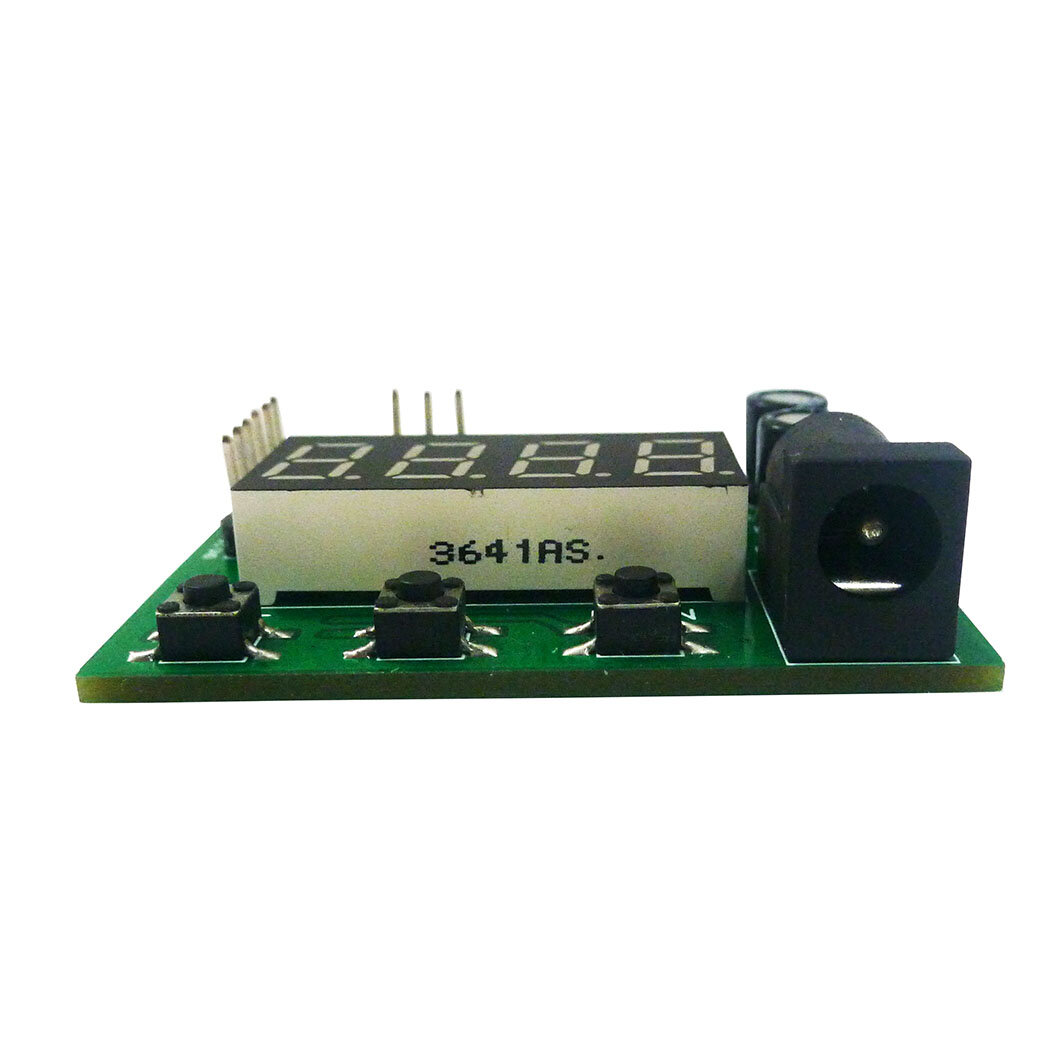
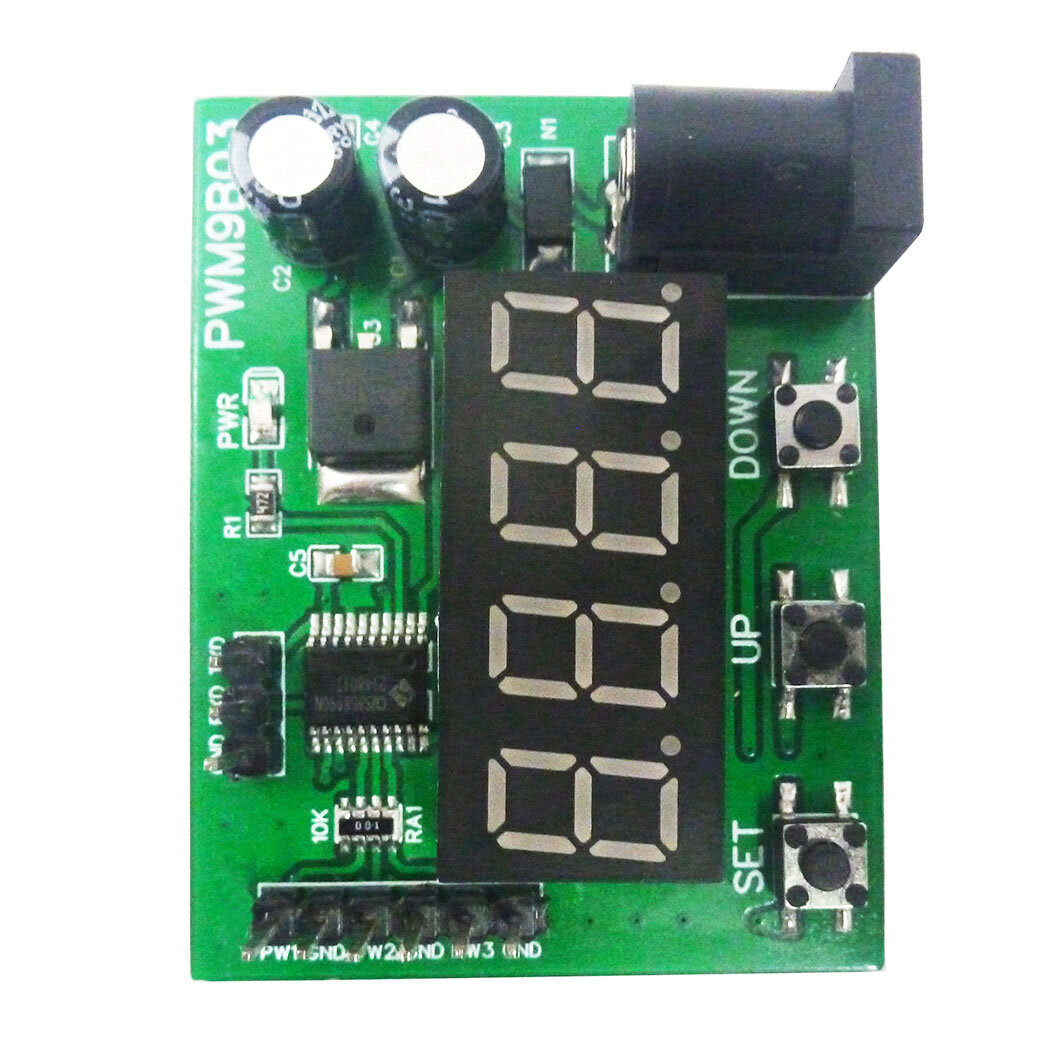
PWM9B03 3-Channel PWM Pulse Signal Generator Module

  • gift Roymall C.o.
  • amazon
  • $1.80 /$5.12
    4.61611
    Shipping to: United States
    Express: 7-12 business days
    Standard: 15-25 business days
    $4.20 /$5.12
    • *Name:

    • *Email:

    • *Phone:

    • *Quantity:

    • *Content:

    • Attachment:

      Supports JPG, JPEG, PNG, PDF, EXCEL, WORD, RAR, ZIP, 7z formats

    ደህንነቱ የተጠበቀ ክፍያ

    ነፃ ስጦታ
    ከማንኛውም ግዢ ጋር ነፃ ስጦታ
    የመላኪያ ፖሊሲ
    ከ$9.9 በላይ ትዕዛዞች ላይ ነፃ መደበኛ መላኪያ
    የመመለሻ ፖሊሲ
    የተመለሱ እቃዎች ከሸቀጦቹ የመጡበት ቀን ጀምሮ በ40 ቀናት ውስጥ ይቀበላሉ። ልዩ የተዘጋጁ እቃዎች መመለስ ወይም መለወጥ አይቻልም። በኤሌክትሮኒክ ስጦታ ካርድ የተገዙ እቃዎች መለወጥ ብቻ ይቻላል; መመለስ አይቻልም።

    ነፃ ስጦታ

    እንኳን ወደ Roymall በደህና መጡ፣ ለከፍተኛ ደረጃ የስጦታ መደብር ስጦታዎች የሚገዙበት ሙያዊ ድረ-ገፃችን። ድጋፍዎን ከፍ ብለን እናደርገዋለን እናም በእያንዳንዱ ግዢዎ ላይ ተጨማሪ ደስታ በማክበር አመስጋኝነታችንን ለመግለጽ እንፈልጋለን። ከእኛ ጋር በሚገዙበት ጊዜ፣ የሕይወት ደረጃዎን የሚያሻሽሉ ከፍተኛ ጥራት ያላቸውን ምርቶች ብቻ ሳይሆን እያንዳንዱን ትዕዛዝ የሚያገኙበትን ልዩ ነፃ ስጦታም ያገኛሉ። ስብስባችንን ለመጎብኘት እና ፍጹም ስጦታዎችዎን ለማግኘት ዝግጁ ነዎት? የከፍተኛ ደረጃ የስጦታ መደብር እቃዎችን ይምረጡ፣ ትዕዛዝዎን ያቅርቡ እና ከግዢዎ ጋር የሚመጣውን የነፃ ስጦታዎ ደስታ ይጠብቁ።

    የመላኪያ ፖሊሲ

    ትዕዛዞችዎን ከተቀበልን በኋላ እቃዎችን ወደእርስዎ ለማድረስ እና በሰላም እንዲደርሱ እንሰራለን። የመላኪያ ዝርዝሮች በማረጋገጫ ኢሜልዎ ውስጥ ይሰጣሉ።በአብዛኛዎቹ ሁኔታዎች፣ ትዕዛዞች በ2 ቀናት ውስጥ ይቀርባሉ።በልዩ ሁኔታዎች፣ እንደሚከተለው ይዘገያል፡ ትዕዛዝን ቅዳሜ፣ እሑድ ወይም በዓላት ላይ ሲያቀርቡ፣ ለ2 ቀናት ይዘገያል..በአብዛኛው፣ ያለ የበረራ መዘግየት ወይም ሌሎች የአካባቢ ሁኔታዎች ተጽዕኖ ሳይኖርበት 5-7 የስራ ቀናት (ሰኞ እስከ ዓርብ) ይፈልጋል..የመላኪያ አገልግሎታችን በዓለም ዙሪያ ስለሆነ፣ የመላኪያ ጊዜዎች በአካባቢዎ ላይ የተመሰረቱ ስለሆኑ በርቀት ያሉ አካባቢዎች ወይም ሀገሮች ውስጥ ከሆኑ ጥቂት ጊዜ ይፈልጋል እና በትዕግስት ይጠብቁ።

    1. መመለሻ እና መለዋወጫ ፖሊሲ

    እቃዎችን ከ roymall.com ብቻ እንቀበላለን። ከአካባቢያችን አከፋፋዮች ወይም ሌሎች ነጋዴዎች ከገዙ፣ ከእኛ ጎን መመለስ አይችሉም። የመጨረሻ ሽያጭ ዕቃዎች ወይም ነፃ ስጦታዎች ለመመለስ አይቀበሉም። ለመመለስ ብቁ ለመሆን፣ ዕቃዎ ያልተጠቀሙበት እና እንደተቀበሉት በተመሳሳይ ሁኔታ ውስጥ መሆን አለበት። እንዲሁም በዋናው ማሸጊያ ውስጥ መሆን አለበት።ከእኛ የመመለሻ መመሪያዎችን ከተቀበሉ በኋላ፣ የተመለሱ ዕቃዎችዎን ያሸጉ እና ጥቅልዎን በአካባቢያችሁ ፖስታ ቤት ወይም ሌላ ኩሪየር ላይ ያስቀምጡ።
    የተመለሰውን ወይም የተለወጠውን ዕቃ በ3-5 የስራ ቀናት ውስጥ ከተቀበልን በኋላ እንሰራለን። መመለሻው በራስ-ሰር ወደ ዋናው የክፍያ ዘዴዎ ይመለሳል።ምርቱ ልዩ ከተሰራ፣ ልዩ መጠን፣ ልዩ ቀለም ወይም ልዩ ህትመት ጨምሮ፣ �ንዳንድ መመለስ ወይም መለወጥ አይችልም።ተጨማሪ እርዳታ ከፈለጉ፣ እባክዎን ያግኙን። service@roymall.com ወይም Whatsapp: +447549870296

    2.የመመለሻ ፖሊሲ

    የተመለሰውን ጥቅል ከተቀበልን እና ከተፈተነ በኋላ ሙሉ መመለሻ ወይም 100% የማከማቻ ክሬዲት ያገኛሉ። መመለሻው በራስ-ሰር ወደ ዋናው የክፍያ ዘዴዎ ይመለሳል። እባክዎን ያስታውሱ የመላኪያ ወጪዎች እና ማንኛውም ታክስ ወይም ክፍያዎች መመለስ አይቻልም። ተጨማሪ የመላኪያ ወጪዎች ጥቅሉ ከተላከ በኋላ መመለስ አይቻልም። እነዚህን ክፍያዎች ለመክፈል እርስዎ ተጠያቂ ነዎት እና ትዕዛዙ ወደእኛ ከተመለሰም ሊሰረዙ ወይም መመለስ አይችሉም።ከተመለሰው ዕቃ ከተቀበልን እና ከተረጋገጠ በኋላ፣ የተመለሰውን ዕቃ እንደተቀበልን ለማሳወቅ ኢሜይል እንልካለን። እንዲሁም የመመለሻዎ መፈቀድ ወይም ማያያዣ ስለሆነ እናሳውቅዎታለን።በመመለሻ ሂደቱ ላይ ችግር ካጋጠመዎት፣ እባክዎን ያግኙን። service@roymall.com ወይም Whatsapp: +447549870296
    Features:

    1 Working voltage: DC 6-24V
    2 Working current: DC 12-30MA
    3 3 independent buttons: used to set frequency, duty cycle, working status, etc.;Support long press, short press, simple operation and diverse functions.
    4 3 Channels PWM output: PWM Signal can set frequency and duty cycle respectively.
    5 PWM signal level: 5V TTL level
    6 PWM signal load capacity: <20mA
    7 Output frequency accuracy: 0.6% (10-30 Degrees Celsius)
    8 Ultra-high frequency range: 20HZ ~ 1MHZ, duty cycle 0-100%.
    9. Power-off memory function: power off at any time, the last set data will be recorded and saved when power off, and the data will be displayed when power is turned on again.
    10 Automatic exit function: If there is no operation for 36 seconds, the last set data will be automatically recorded, and the dynamic setting state will be exited.
    11. Real-time update function: Under the dynamic setting function, you can connect an oscilloscope to grasp the set frequency and duty cycle at any time, and output the precise frequency or duty cycle.
    12. Restore production setting function: in dynamic setting mode, press and hold the UP and DOWN buttons at the same time to restore the production setting (after pressing, you need to power off and power on again, the data will be updated to the default data)
    13 kinds of application scenarios: The module has a variety of control methods and working modes, and three output channels, which can meet the requirements of different environments.
    14 Dimensions: 49 x 38 x 13mm
    15 Weight: 14.5g

    PWM signal parameter description:

    1 PWM frequency: the setting range is 20HZ ~ 1MHZ. The default value is 100HZ.
    Four-digit digital tube, the decimal determines the unit of frequency. When there is a decimal point, the unit is KHZ, and when there is no decimal point, the unit is HZ.
    The relationship between the digital tube display number and the output frequency:
    0034: Indicates that the frequency is 34HZ
    0234: Indicates the frequency is 234HZ
    1234: Indicates the frequency is 1234HZ
    1.234 : indicates that the frequency is 1.234KHZ
    12.34 : indicates that the frequency is 12.34KHZ
    123.4: Indicates the frequency is 123.4KHZ
    0.123: Indicates that the frequency is 0.123KHZ (that is, 123HZ)

    2 PWM duty cycle: setting range 0 ~ 100
    0: The corresponding PWM remains low
    100: The corresponding PWM remains high
    1 ~ 99: corresponding duty cycle 0.01 ~ 0.99
    The relationship between the digital tube display number and the output duty cycle
    0005: Indicates that the output duty cycle is 0.05/5%
    0050: Indicates that the output duty cycle is 0.50/50%
    Note: 1. Other combinations are also possible, but whether the data can be more accurate is related to your test tool


    Package include:

    1 x Module Board


    How to set PWM output parameters:

    Example 1:
    For example, the parameters of the three channels are 100HZ/50%, 200HZ/60%, 300HZ/70%
    View the parameters of the three channels:

    1 Powered on PWM9B03 module, the PWR indicator is on, and the digital tube is off
    2 Click the SET button to display PF1 (for 1 second), and then normally display 0100 (channel 1 frequency 100HZ)
    3 Click the SET button twice to display dU1 (for 1 second), and then normally display 0050 (channel 1 duty cycle 50%)
    4 Click the SET button three times to display PF2 (for 1 second), and then normally display 0200 (channel 2 frequency 200HZ)
    5 Click the SET button four times, display dU2 (for 1 second), and then normally display 0060 (channel 2 duty cycle 60%)
    6 Click the SET button five times to display PF3 (for 1 second), and then normally display 0300 (channel 3 frequency 300HZ)
    7 Click the SET button six times, display dU3 (for 1 second), and then normally display 0070 (channel 3 duty cycle 70%)

    Example 2:
    Set channel 1 to: frequency 1000HZ, duty cycle 40%
    1 Powered on PWM9B03 module , the PWR indicator is on, and the digital tube is off
    2 Press and hold the SET button for 3-5 seconds, first display PF1 (for 1 second), and then flash the number
    3 Click the UP/DOWN button to adjust the number to 1000 (frequency 1000HZ)
    4 Press and hold the SET button for 3-5 seconds for the second time, first display dU1 (for 1 second), and then flash the number
    5 Click the UP/DOWN button to adjust the number to 0040 (40% duty cycle)
    6 Re-power

    Example 3:
    Set channel 3 to: frequency 10.12KHZ, duty cycle 60%
    1 Powered on PWM9B03 module, the PWR indicator is on, and the digital tube is off
    2 Press and hold the SET button for 3-5 seconds, first display PF1 (for 1 second), and then flash the number
    3 Press and hold the SET button twice for 3-5 seconds, first display dU1 (for 1 second), and then flash the number
    4 Press and hold the SET button three times for 3-5 seconds, PF2 will be displayed first (for 1 second), and then the number will flash.
    5 Press and hold the SET button four times for 3-5 seconds, first display dU2 (for 1 second), and then flash the number
    6 Press and hold the SET button five times for 3-5 seconds, first display PF3 (for 1 second), and then flash the number
    7 Click the UP/DOWN button to adjust the number to 1012, and then click the SET button to adjust the number to 10.12 (frequency 10.12KHZ)
    8 Press and hold the SET button for 3-5 seconds for six times, first display dU3 (for 1 second), and then flash the number
    9 Click the UP/DOWN button to adjust the number to 0060 (60% duty cycle)
    10 Re-power


    Example 4:
    Factory Reset
    1 Powered on PWM9B03 module, the PWR indicator is on, and the digital tube is off
    2 Press and hold the SET button for 3-5 seconds, first display PF1 (for 1 second), and then flash the number
    3 Press the UP and DOWN buttons at the same time to restore the factory settings
    4 Re-power


    Description

    PWM9B03 3-Channel PWM Pulse Signal Generator Module

    PWM9B03 3-Channel PWM Pulse Signal Generator Module

    PWM9B03 3-Channel PWM Pulse Signal Generator Module

    PWM9B03 3-Channel PWM Pulse Signal Generator Module

    PWM9B03 3-Channel PWM Pulse Signal Generator Module

    PWM9B03 3-Channel PWM Pulse Signal Generator Module

    PWM9B03 3-Channel PWM Pulse Signal Generator Module

    You also Interesting

    የቅርብ ጊዜ የምርት ዜና እና ለመጀመሪያ ትዕዛዝዎ 15% ቅናሽ ለማግኘት።

    QQ好友QQ空间新浪微博微信朋友圈百度贴吧复制链接
    取消